 how-to
Upholstery Stain Removal Tips for Homeowners
Table of Contents
- Act Fast: The First Steps After a Spill
- Understanding Upholstery Cleaning Codes
- DIY Upholstery Stain Remover Solutions
- Tackling Deep-Set Upholstery Stain Removal
- Stain-Specific Strategies and Cautions
- When to Call Professional Upholstery Cleaning
- Drying and Prevention After Treatment
- Frequently Asked Questions
Last Updated: October 11, 2026
Act Fast: The First Steps After a Spill
The first minutes after a spill determine whether you'll remove the stain or set it permanently into your upholstery. Rubbing frantically pushes liquid deeper into the fabric. Here's what actually works.
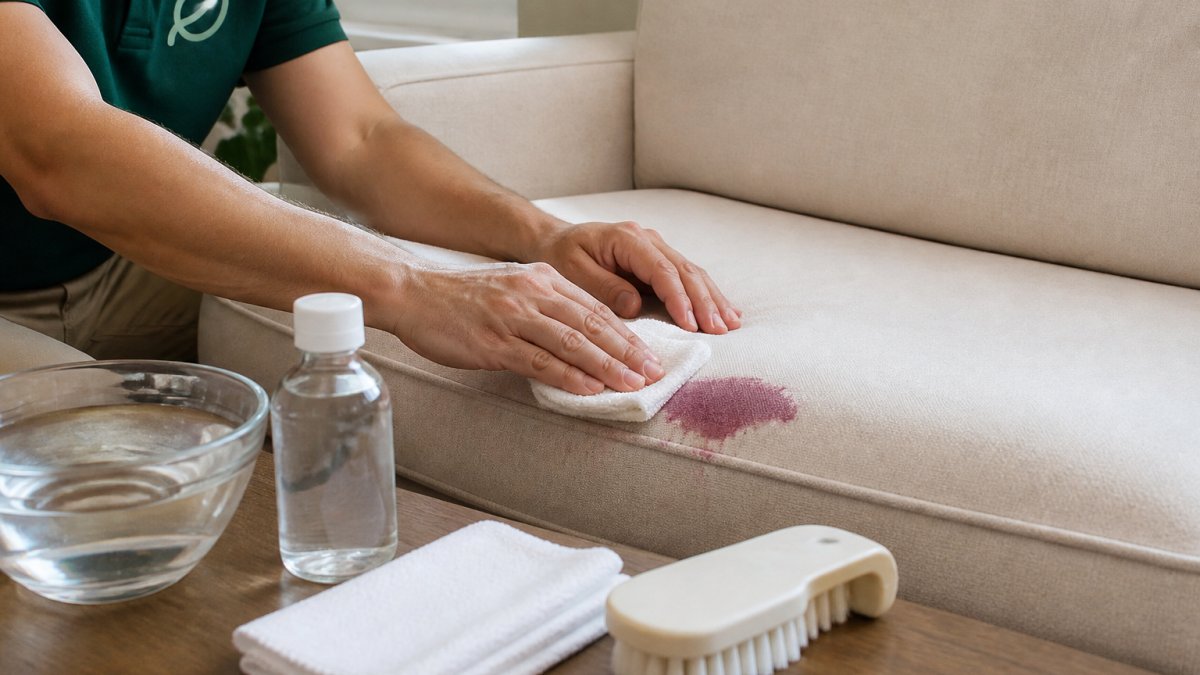
Remove excess residue before it sets
Start by removing what's sitting on top. If it's a solid (chocolate, food debris, pet accident), pick it up immediately with a paper towel or cloth. Don't press down. Just lift.
For liquids, grab a clean white cloth and blot the area. Press down gently for 5-10 seconds, then lift. Repeat with a fresh section of cloth each time.
Blot, don't rub
Blotting lifts liquid out; rubbing grinds it in. If the stain has already started to dry, move to the next steps. Patience beats aggression every time.
Understanding Upholstery Cleaning Codes
Your upholstery fabric has a cleaning code. Finding and understanding it prevents damage and tells you exactly which cleaning method is safe.
What the codes mean and why they matter
Upholstery cleaning codes are printed on a tag attached to your furniture. W means water-based solutions are safe. S means solvent-based cleaners only, water can damage the fabric. WS means both work. X means no liquid cleaning at all. Using the wrong solution can set a stain permanently or shrink the fabric. A quick check takes 30 seconds and saves hundreds in damage.
Testing an inconspicuous area first
Before applying any cleaning solution to a visible stain, test it on a hidden part of the furniture. Apply your solution with a white cloth, wait 5 minutes, and check for color transfer or discoloration. This single step prevents accidents.
DIY Upholstery Stain Remover Solutions
Most household items work for fresh stains on W-coded upholstery. Match your stain type to the right solution using this guide.
Quick stain-type decision guide
Food and juice stains (fruit, soda, coffee, tea)
- Blot excess liquid immediately.
- Mix one tablespoon of liquid dish soap into two cups of warm water.
- Blot the stain from outside edge toward center. Rinse with plain water and blot dry.
- Repeat if color remains. Most food stains lift within two cycles.
Grease and oil stains (butter, cooking oil, salad dressing)
- Do not use plain water first, it spreads grease.
- Mix one tablespoon of liquid dish soap with one cup of warm water.
- Blot repeatedly (5-10 blots). Rinse thoroughly with plain water to remove all soap residue.
Pet accidents (urine, feces, vomit)
- Remove solid matter first with a paper towel.
- Mix one part white vinegar with three parts water and blot thoroughly. Let sit 5-10 minutes if smell is strong.
- Rinse with plain water multiple times. If odor persists, sprinkle baking soda, let sit 15 minutes, then vacuum.
Chocolate, candy, and sticky residues
- Let dried residue harden completely, then vacuum gently with an upholstery brush attachment.
- Apply water-based soap solution (one tablespoon dish soap in two cups warm water) and blot repeatedly.
- Rinse thoroughly to remove all soap, which can reactivate stickiness.
Red wine, berry juice, and dye stains (the hardest to remove)
- Blot immediately with a white cloth.
- Apply water-based soap solution and blot. For stubborn dyes, try a vinegar rinse (one part vinegar, three parts water).
- If the stain remains dark after two cycles, professional cleaning is more realistic than repeated DIY attempts.
Water-based solutions for fresh stains
The simplest solution is warm water with a drop of dish soap. Mix one tablespoon of liquid dish soap into two cups of warm water. Stir gently to avoid creating too many bubbles.
Dip a white cloth into the solution. Wring it out so it's damp, not dripping. Blot the stain. Work from the outside edge toward the center to avoid spreading it.
This works for most fresh spills: juice, coffee, tea, light food stains.
Vinegar and other natural options
White vinegar cuts through grease and neutralizes odors. Mix equal parts vinegar and water, blot the stain, and let sit 10 minutes for stubborn odors. Baking soda pre-treats wet stains, sprinkle it on, let sit 15 minutes, then vacuum before applying your cleaning solution. Both are safe around children and pets, but vinegar smells strong during application, open windows or use a fan.
Tackling Deep-Set Upholstery Stain Removal
Old stains are harder to remove because they've bonded with the fabric fibers. They need patience and repeated treatment.
Why old stains need different treatment
A fresh stain sits on top of the fabric; an old stain has migrated into the fibers. A one-day-old stain responds to basic cleaning, while a one-month-old stain often requires professional upholstery stain removal. Old stains can sometimes be lifted with the right approach and patience.
Soaking and repeat treatments
For set-in stains, apply your cleaning solution and let it sit 15-20 minutes. Blot, then repeat the soak-and-blot cycle 2-3 times. After the final blot, rinse with plain water and dry completely. If the stain remains after three cycles, professional cleaning is the better choice.
Stain-Specific Strategies and Cautions
Different stains require different approaches. Knowing the stain type helps you choose the right solution and avoid damage.
Dye stains and color transfer risks
Red wine, coffee, and berry stains contain dyes that bond quickly to fabric. Act immediately and blot first. If the dye has already set, soaking may not work and can spread the dye further. Professional upholstery stain removal often produces better results than DIY attempts.
Pet and child safety during cleaning
Keep children and pets away from treated areas while wet. Vinegar and water solutions are safest if you have young children or pets. Avoid bleach entirely, it damages fabric permanently. Let treated areas dry completely before allowing pets or children near them.
Troubleshooting water marks and residue
Sometimes cleaning solutions leave water marks or sticky residue behind. This happens when you don't rinse thoroughly.
Always follow your cleaning solution with a rinse using plain water. Use a cloth dampened (not soaked) in water.
If water marks appear after drying, you can often remove them by repeating the rinse step.
Residue feels sticky or stiff. It usually means soap wasn't fully rinsed out. Repeat the water rinse until the fabric feels soft again.
When to Call Professional Upholstery Cleaning
Some stains and situations require professional help. Knowing when to call saves time and prevents damage.
Signs your couch needs expert help
Call a professional if:
- The stain is on S-coded upholstery (solvent-based only)
- The stain has set for more than a few weeks
- DIY cleaning made the stain worse or spread it
- The fabric shows color transfer or dye bleeding
- You're unsure about the fabric type or cleaning code
- The stain covers a large area
Professional cleaners have equipment, solutions, and expertise that DIY methods can't match.
What professional cleaning achieves
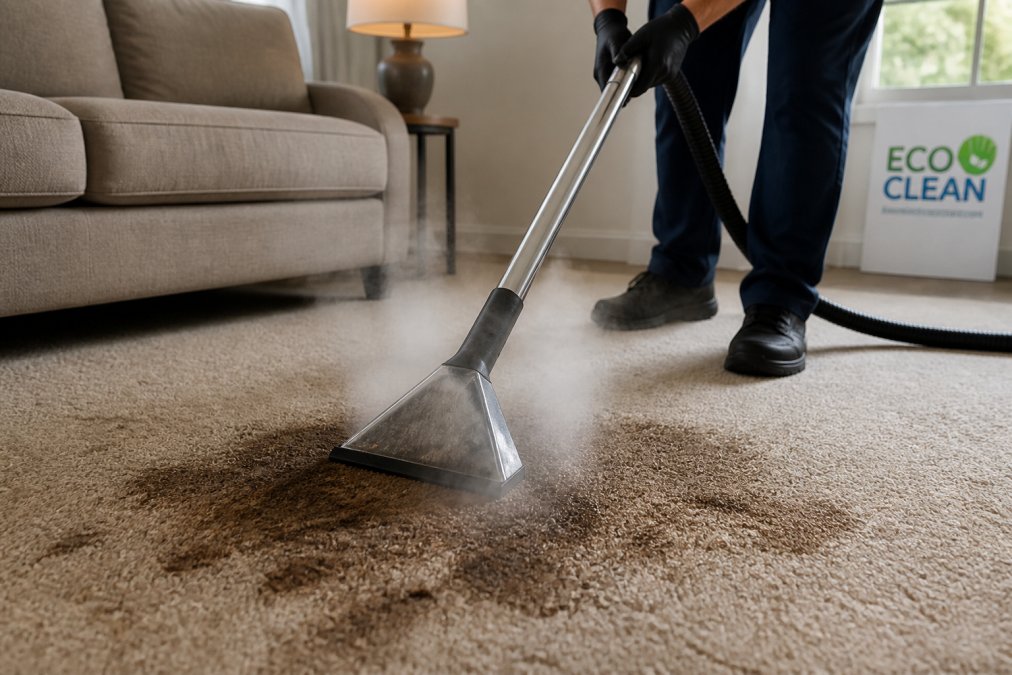
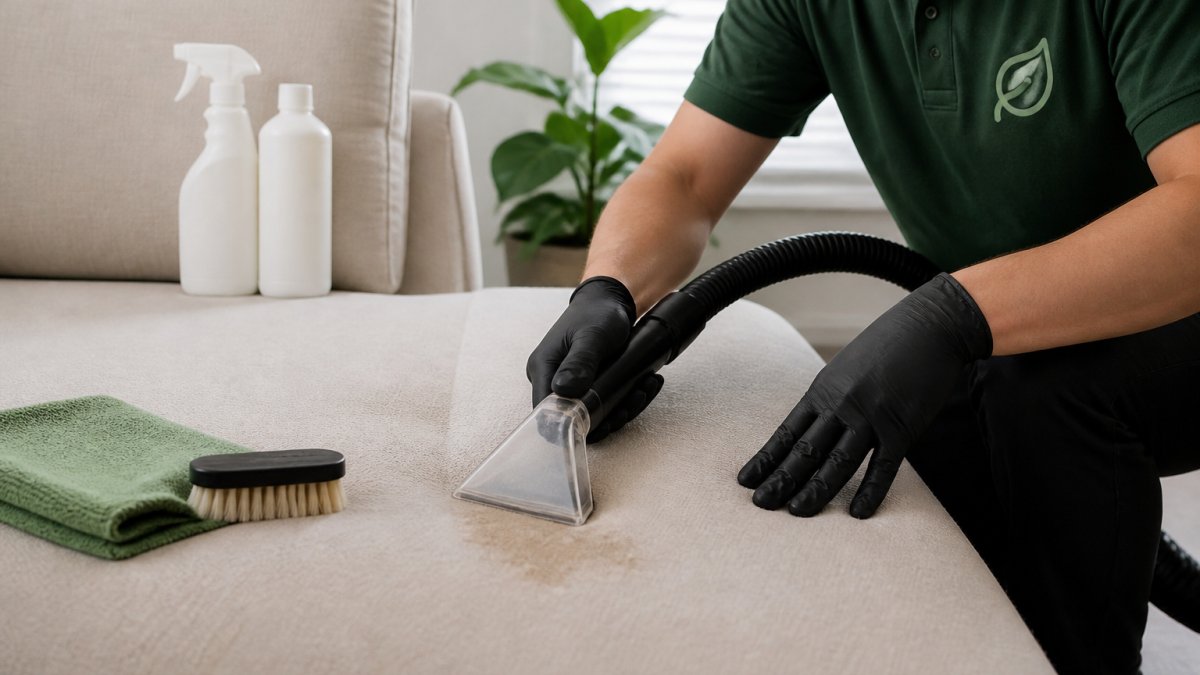
Professional upholstery stain removal uses hot water extraction and specialized solutions designed for deep fiber cleaning. This method removes stains that blotting and soaking can't touch.
At EcoClean, we use hot water extraction to revitalize furniture across Las Vegas, North Las Vegas, and Henderson.
Professional cleaning also removes odors trapped in the fabric. Pet accidents, spills, and general use leave smells that surface cleaning won't eliminate. Deep cleaning extracts these odors completely.
Drying and Prevention After Treatment
How you dry your furniture after cleaning matters as much as the cleaning itself. Improper drying can lead to mildew, lingering odors, and re-soiling of the treated area.
Steps to dry upholstery properly
Immediately after treatment:
- Blot the area one final time with a clean, dry white cloth. Press firmly to remove as much moisture as possible.
- Do not let the furniture sit damp. The longer moisture remains, the higher the risk of mildew and odor development.
Speed up drying with air circulation:
- Open windows in the room to increase air flow. Cross-ventilation works best, open windows on opposite sides of the room.
- Position a fan to blow across the treated area. A box fan or oscillating fan works well. Aim for air movement across the fabric, not directly into it.
- If weather permits, open windows even in cool conditions. Air circulation matters more than temperature.
- In humid climates or during humid seasons, run a dehumidifier in the room. High humidity slows drying significantly and increases mildew risk.
- Avoid closing doors or curtains over the treated furniture. Enclosed spaces trap moisture.
Timing expectations:
- Most upholstery dries completely within 4-8 hours with good air circulation.
- In humid conditions or without fans, drying may take 12-24 hours.
- Do not sit on or use the furniture until it feels completely dry to the touch. Damp fabric can transfer moisture to clothing and skin, and it attracts dirt.
Recognizing when furniture is truly dry
- Touch the treated area with your hand. It should feel cool and dry, not damp or cool in a way that suggests moisture.
- Press a white cloth against the area. If any moisture transfers to the cloth, the furniture is still damp.
- Smell the area. If it smells musty, damp, or like mildew, moisture is still present. This is a warning sign, increase air circulation immediately.
- If the area still feels damp after 12 hours of fan use and open windows, use a dehumidifier or consider renting a carpet dryer (a portable upholstery drying tool available from equipment rental shops). Overwet furniture is at serious risk for mildew.
Preventing water marks and residue after drying
Water marks appear as rings or halos around the treated area. They usually result from incomplete rinsing or uneven drying.
- Always rinse the treated area with plain water after applying your cleaning solution. Use a cloth dampened (not soaked) in water. Blot multiple times to remove all soap or vinegar residue.
- If water marks appear after drying, dampen a cloth with plain water and blot the entire stained area, not just the mark. This helps the fabric dry evenly and prevents rings.
- Avoid over-wetting during treatment. More solution does not mean better results, it only extends drying time and increases the risk of water marks.
Protecting against re-soiling and future stains
Once the furniture is completely dry, vacuum the area gently with an upholstery brush attachment. This removes any residual cleaning powder or dried solution.
To prevent future stains, treat upholstery with a fabric protector. Protectors create a barrier that repels liquids and makes cleanup easier. They are especially useful for high-traffic furniture or homes with children and pets.
Frequently Asked Questions
What should you do first when a spill stains upholstery?
Act immediately. Remove excess liquid or solid residue with a spoon or cloth, then blot the stain with a clean, damp white cloth using gentle pressure. Never rub or scrub, as this pushes the stain deeper into the fabric fibers. Once you've removed surface moisture, identify the fabric's cleaning code to determine which cleaning solution is safe to use next.
How do you get deep-set stains out of upholstery?
Old or set-in stains require patience and repeated treatment. Test your chosen cleaning solution on an inconspicuous area first. Apply the solution, let it sit for 10-15 minutes to break down the stain, then blot with a damp cloth. Repeat this cycle 2-3 times if needed. For stubborn dye stains, a professional upholstery cleaning service with hot water extraction may be necessary to fully lift the stain without damaging the fabric.
Can you use vinegar or baking soda to remove upholstery stains?
Yes, but with caution. White vinegar mixed with water works on many stains, though it can leave a smell temporarily. Baking soda is safer for absorbing odors and can be sprinkled on damp stains, then vacuumed after drying. Always test either solution on a hidden area of your upholstery first to ensure the fabric is colorfast and won't react negatively. Avoid vinegar on delicate or wool fabrics.
When should you call a professional upholstery cleaning service?
Call a professional if DIY methods fail after 2-3 attempts, the stain covers a large area, the fabric is delicate or antique, or the stain involves dye that's transferring to surrounding areas. Professional cleaners use hot water extraction and specialized equipment to reach deep stains without over-wetting the fabric, and they understand how to handle different cleaning codes safely. They're also essential for pet accidents or mold concerns.